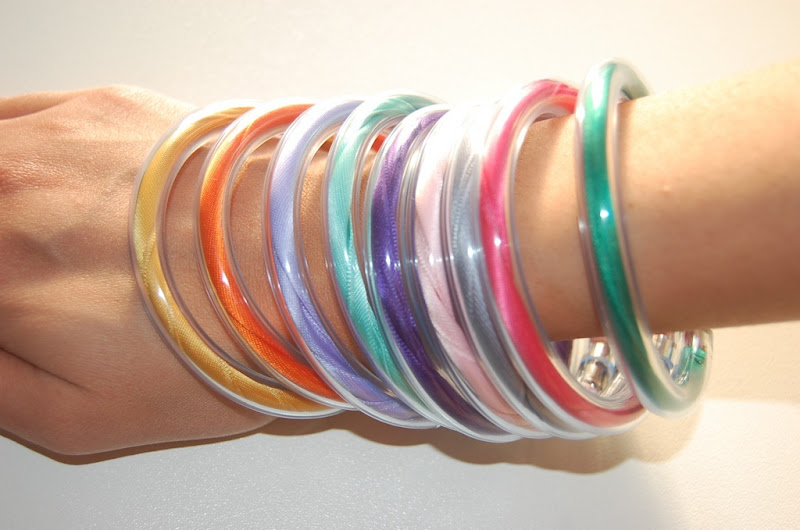
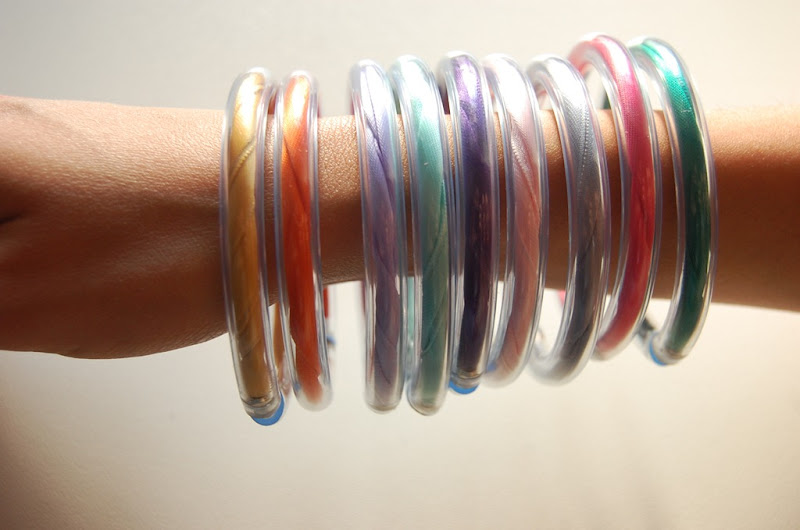
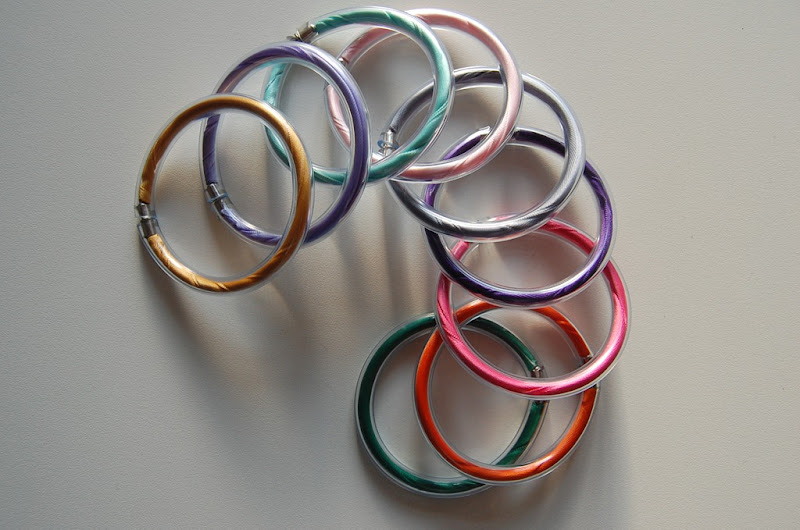
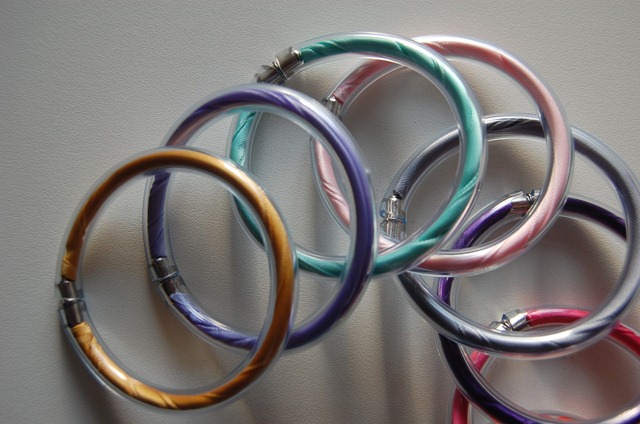
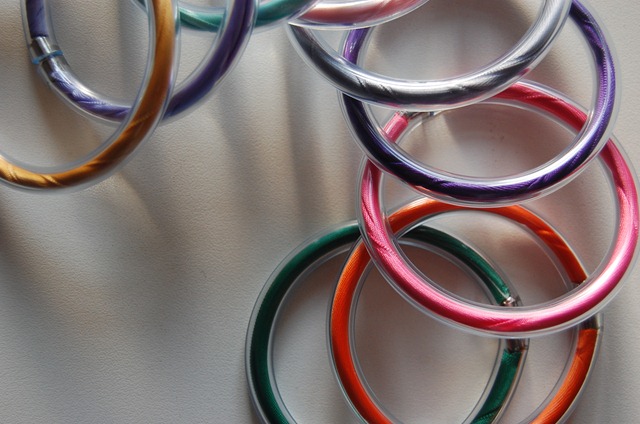
Well they are entirely handmade by me … now I want to show how you can do to achieve them!
… It is easy and also fun! ;)
… Let’s start!!!
… Let’s start!!!
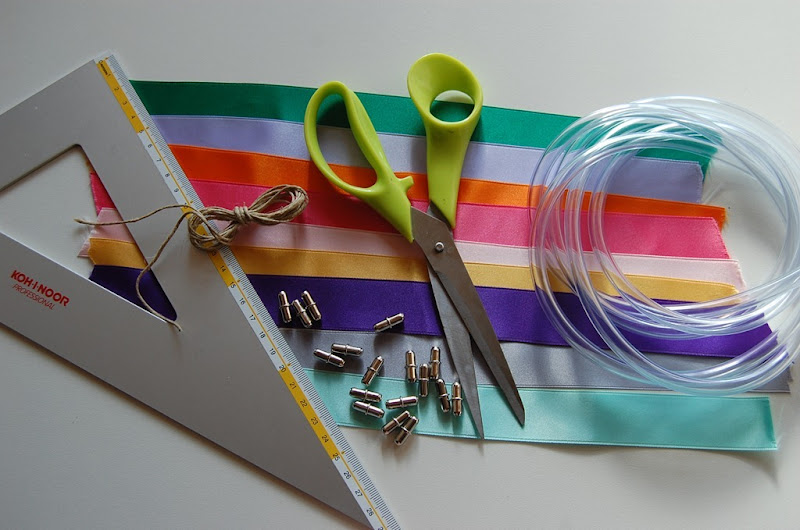
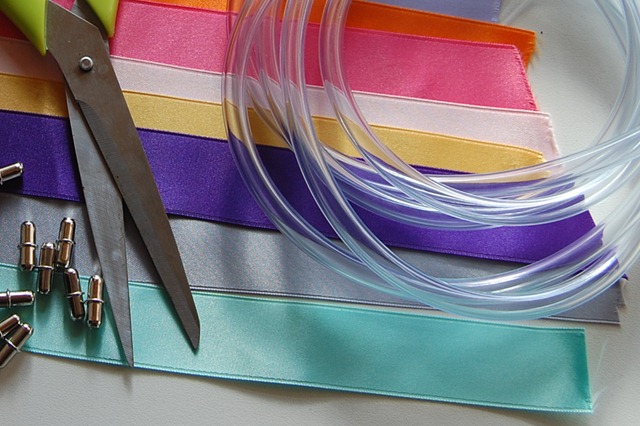
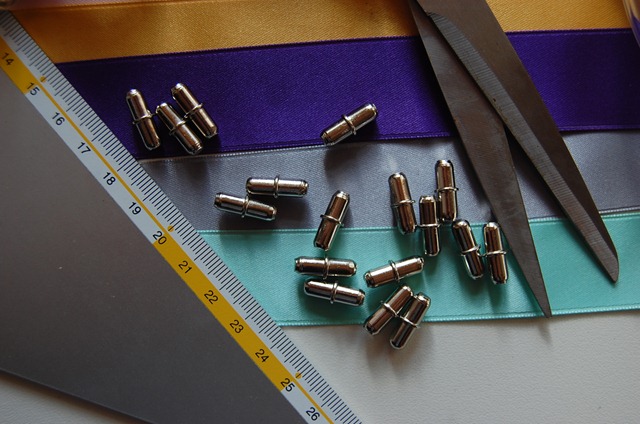
NECESSARY:
– GARDEN HOSE TRANSPARENT diameter 5mm
PURCHASED AT ANY DIY STORE (0.80€ per meter)
– COMPASS IRON BRACKET SHELF diameter 5mm
PURCHASED AT ANY DIY STORE (3.30€, pack of 40 pieces)
P.S. Excuse me, I don’t know the exact name in Engligh … I hope that you understand!
– COLORED RIBBONS lenght about 25 cm
PURCHASED AT ANY HABERDASHERY (1€ per meter)
– SCISSORS
– STRING
– RULER
Bhè sono interamente fatti a mano da me … oggi voglio mostrarvi come potete fare a realizzarli!
… E’ facilissimo e pure divertente! ;)
… Cominciamo!!!
OCCORRENTE:
– TUBO DA GIARDINAGGIO TRASPARENTE diametro 5mm
ACQUISTABILE PRESSO QUALSIASI NEGOZIO DI BRICOLAGE (0.80€ al metro)
– REGGIMENSOLA A BUSSOLA IN FERRO diametro 5mm
ACQUISTABILE PRESSO QUALSIASI NEGOZIO DI BRICOLAGE (3.30€ confezione da 40 pezzi)
– NASTRI COLORATI circa 25cm
ACQUISTABILI PRESSO QUALSIASI MERCERIA (1€ al metro)
– FORBICI
– SPAGO
– RIGHELLO
STEP N°1
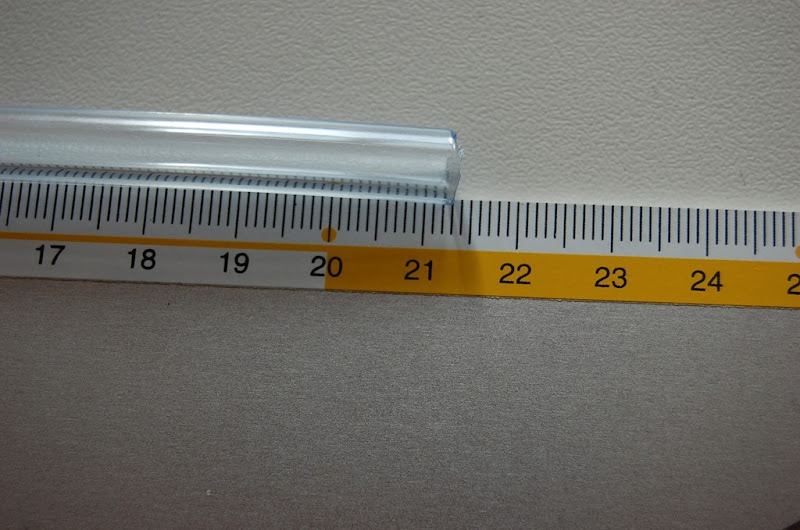
Cut the clear hose to 21/22 cm!
Obviously the length depending on the size of your wrist and especially the size of your hand, since to wear the bracelets will be passed through your hand.
Tagliare il tubo trasparente a 21/22 cm!
Ovviamente la lunghezza varia in base alla dimensione del vostro polso e soprattutto della vostra mano, dal momento che per indossarli andranno passati dalla mano.
STEP N°2
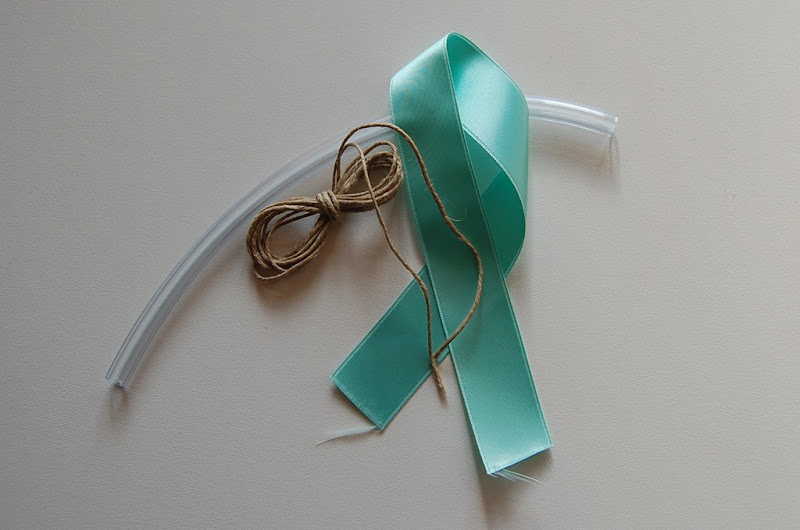
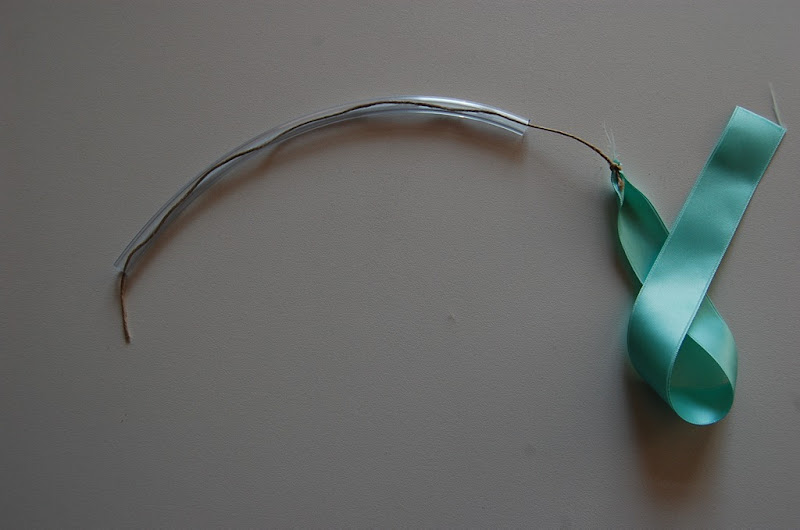
Take the string, the cut hose and the colored ribbon!
Prendere lo spago, il tubo tagliato ed il nastrino colorato!
STEP N°3
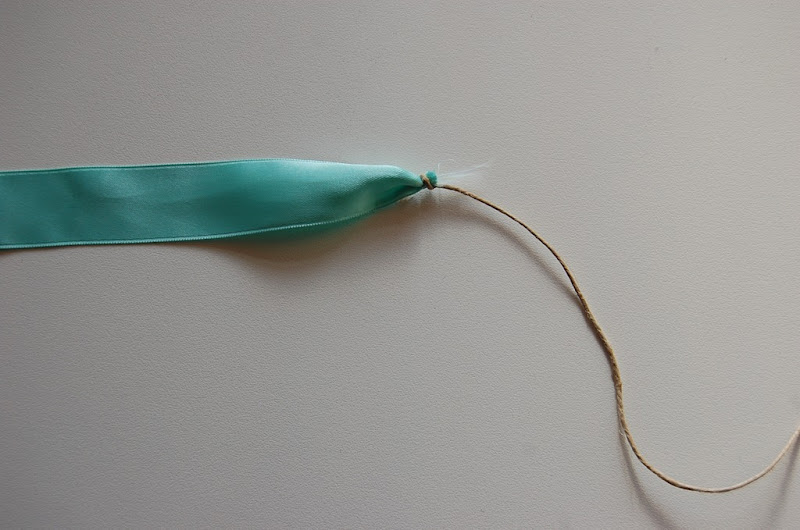
Cut the string to a greater length of 22 cm and tie a colored ribbon to the end!
P.S. I recommend the node must be very tight or the colored ribbon may loose!
Tagliare lo spago ad una lunghezza maggiore di 22 cm e annodarci ad un estremità il nastrino colorato!
P.S. Mi raccomando il nodo deve essere molto stretto altrimenti il nastrino colorato potrebbe slacciarsi!
STEP N°4
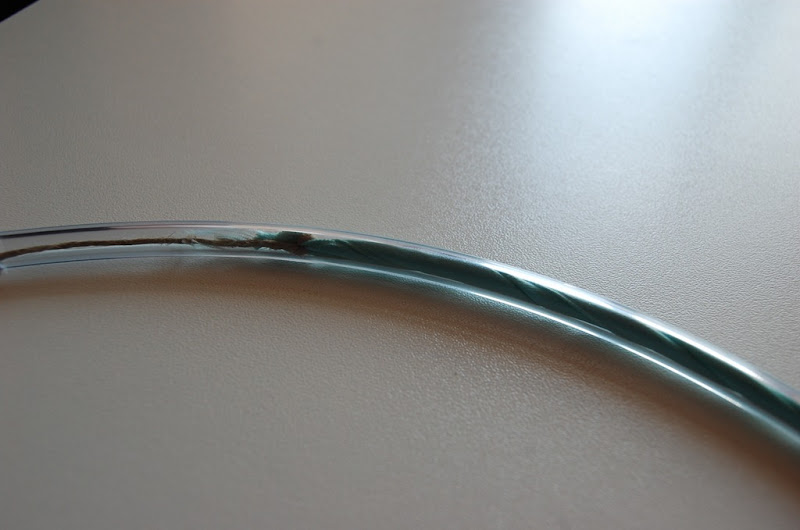
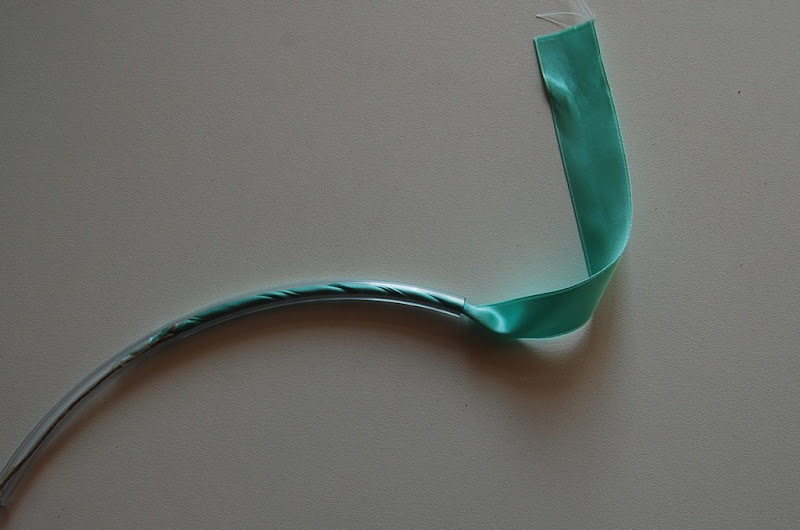
Enter the string inside the transparent hose and pull from the opposite until you don’t enter into the hose all the colored ribbon!
Inserire lo spago all’interno del tubo trasparente e tirare dall’estremità opposta fino a che non avrete fatto entrare nel tubo tutto il nastrino!
STEP N°5
… You’re done! ;)
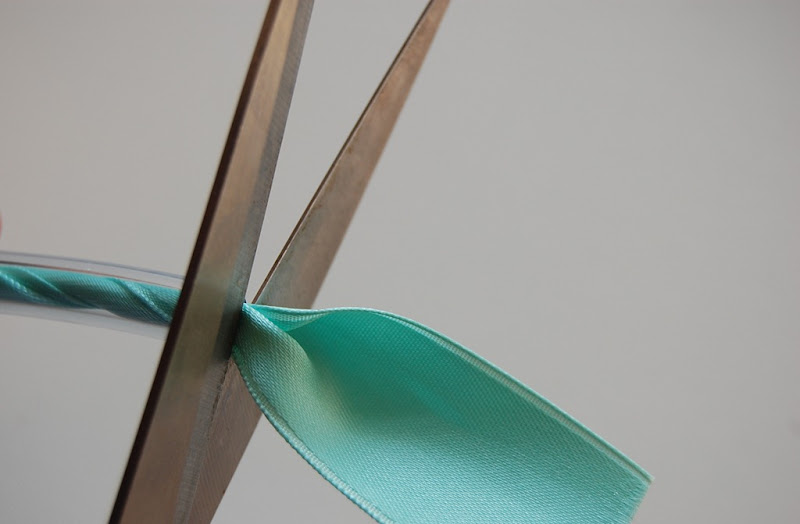
Cut at both ends of the hose the colored ribbon in excess!
… il gioco è fatto! ;)
Tagliate alle 2 estremità del tubo il nastrino colorato in eccesso!
STEP N°6
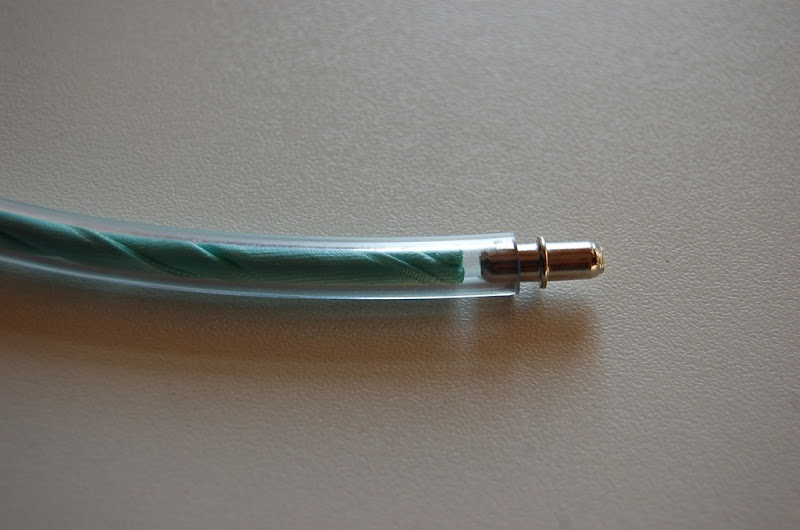
Place in both ends of transparent hose the bracket shelf, wich serve as the closing!
P.S. I recommend you to put even a drop of super glue so avoid that the bracelets opens!
Inserite nelle 2 estremità del tubo trasparente il reggimensola, che avrà la funzione di chiusura!
P.S. Vi consiglio di mettere anche una goccia di super incollante per evitare che il braccialetto si apra!
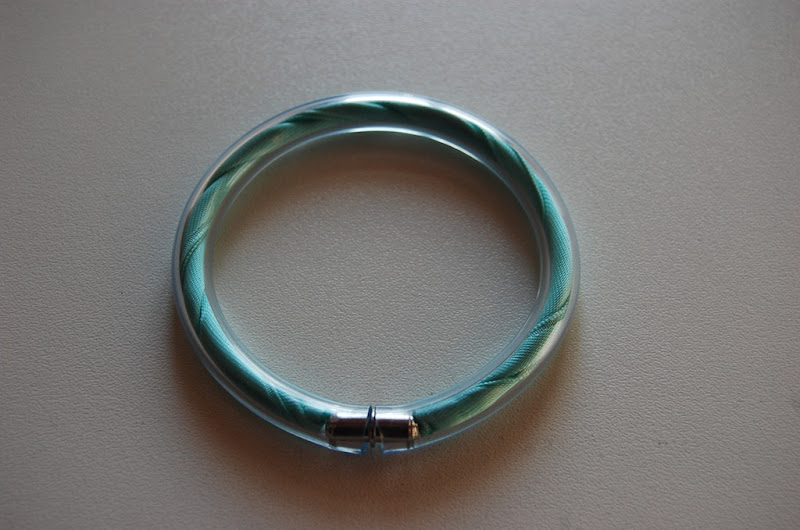
This is the first bracelets finished! :D
Ecco il primo braccialetto finito! :D
… Now you just need to repeat the work with all other colored ribbons you want and wear them!!!
… Adesso non vi resta che ripetere il lavoro con tutti gli altri nastri colorati che desiderate e poi indossarli!!!
If you have any doubts your questions I’m at your disposal!
EVEN IF YOU DECIDE TO PRODUCE YOUR BRACELETS, I WOULD BE DELIGHTED IF YOU SENT ME A PHOTO OF YOUR WORKS! : p
ELISA
Per eventuali vostri chiarimenti i dubbi sono a vostra disposizione!
SE ANCHE VOI DECIDERETE DI PRODURVI I VOSTRI BRACCIALETTI, MI FAREBBE MOLTO PIACERE SE MI MANDASTE ALMENO UNA FOTO DEI I VOSTRI LAVORI! :p
ELISA

